We are making puppets!!
These are so much fun to play with.
Here is what you need:
- 1/2 yard of fleece
- 1 black sheet of felt
- 1 small piece of red foam
- poly-fil stuffing
- 1/2 inch foam, poster board (to make a pattern)
- school glue
- hot glue gun with glue sticks
- a small cup of cold water
- sewing machine
- scissors
- cardboard (back of notepad or cereal box)
- a mix of craft materials to decorate your puppet with.
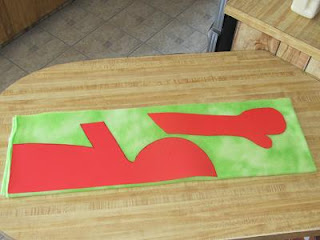
We followed part of this puppet pattern (Hand Puppet Pattern) of the head and arm and then just adjusted it a bit for how we wanted it and added in the body.
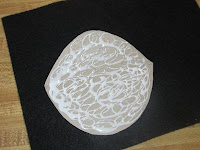
We printed it out on paper in sections, taped it together and traced it onto poster board to make our pattern you see below.
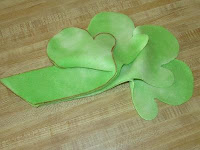
We folded the fabric in half one way and then in half the other way.
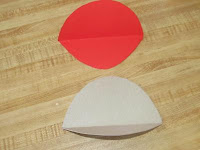
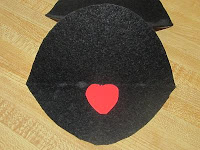
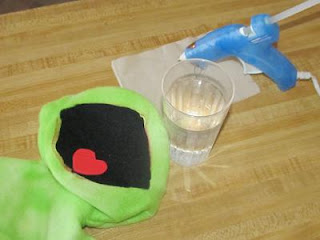
Next we placed the mouth inside the slit and hot glued it in place. We learned a great trick about using cold water while pressing the mouth and fleece together so that we wouldn’t burn our fingers. We still let mom handle most of the hot glue and sewing as we are still learning.
After the mouth is in place and dry we are then able to stuff the head.
Another picture we forgot.. after stuffing the head we took a rectangle of 1/2 inch foam and hot glued it into a circle that fits around our arm and inside the puppet for the puppet body.
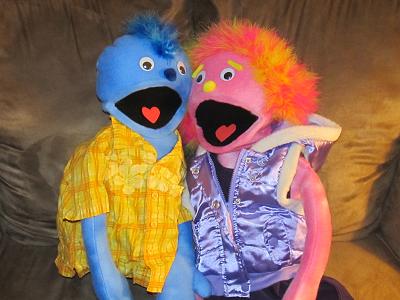
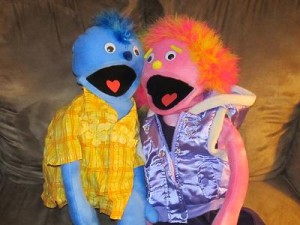
Once you finish your puppet then you can have fun decorating it with eyes, nose, hair and clothes any way you want.
Here is our video.. Hope you enjoy!!
Tyler and Mackenzie
